Introduction to Bathroom Cleaning
Maintaining a clean bathroom is crucial for ensuring a healthy living environment. Every day, bathrooms serve as primary spaces for personal hygiene, and their cleanliness directly impacts our overall well-being. A clean shower, tub, and toilet not only provide comfort but also significantly reduce the risk of infections caused by germs and bacteria thriving in damp conditions. Regular bathroom cleaning, especially with effective disinfectants, is essential to eliminate microorganisms that can pose health risks.
The importance of using disinfectants in bathroom cleaning cannot be overstated. These powerful cleaners are formulated to tackle a variety of pathogens commonly found in bathrooms, including Salmonella, E. coli, and viruses that can lead to illnesses. While routine cleaning with soap and water can remove dirt and grime, it often falls short in effectively eradicating hidden germs. Disinfectants are designed to penetrate surfaces, providing a deeper clean and ensuring that harmful agents are killed upon contact. Thus, they play a vital role in maintaining both hygiene and safety in bathroom settings.
The cleaning process for a shower, tub, and toilet involves several steps. First, it is essential to gather appropriate cleaning supplies, including a disinfectant suitable for bathroom surfaces, sponges, brushes, and protective gear. Starting with the shower and tub, apply the disinfectant, allowing it to sit for a specified duration to maximize its effectiveness. For toilets, focus on both the bowl and exterior surfaces, ensuring thorough coverage. Each area requires different methods and attention, outlining the significance of a targeted approach in bathroom cleaning.
In conclusion, the practice of regular and thorough cleaning, combined with the use of disinfectants, is fundamental in maintaining a hygienic bathroom. By prioritizing this important aspect of home care, individuals can foster a healthier environment for themselves and their families.
Gathering Your Cleaning Supplies
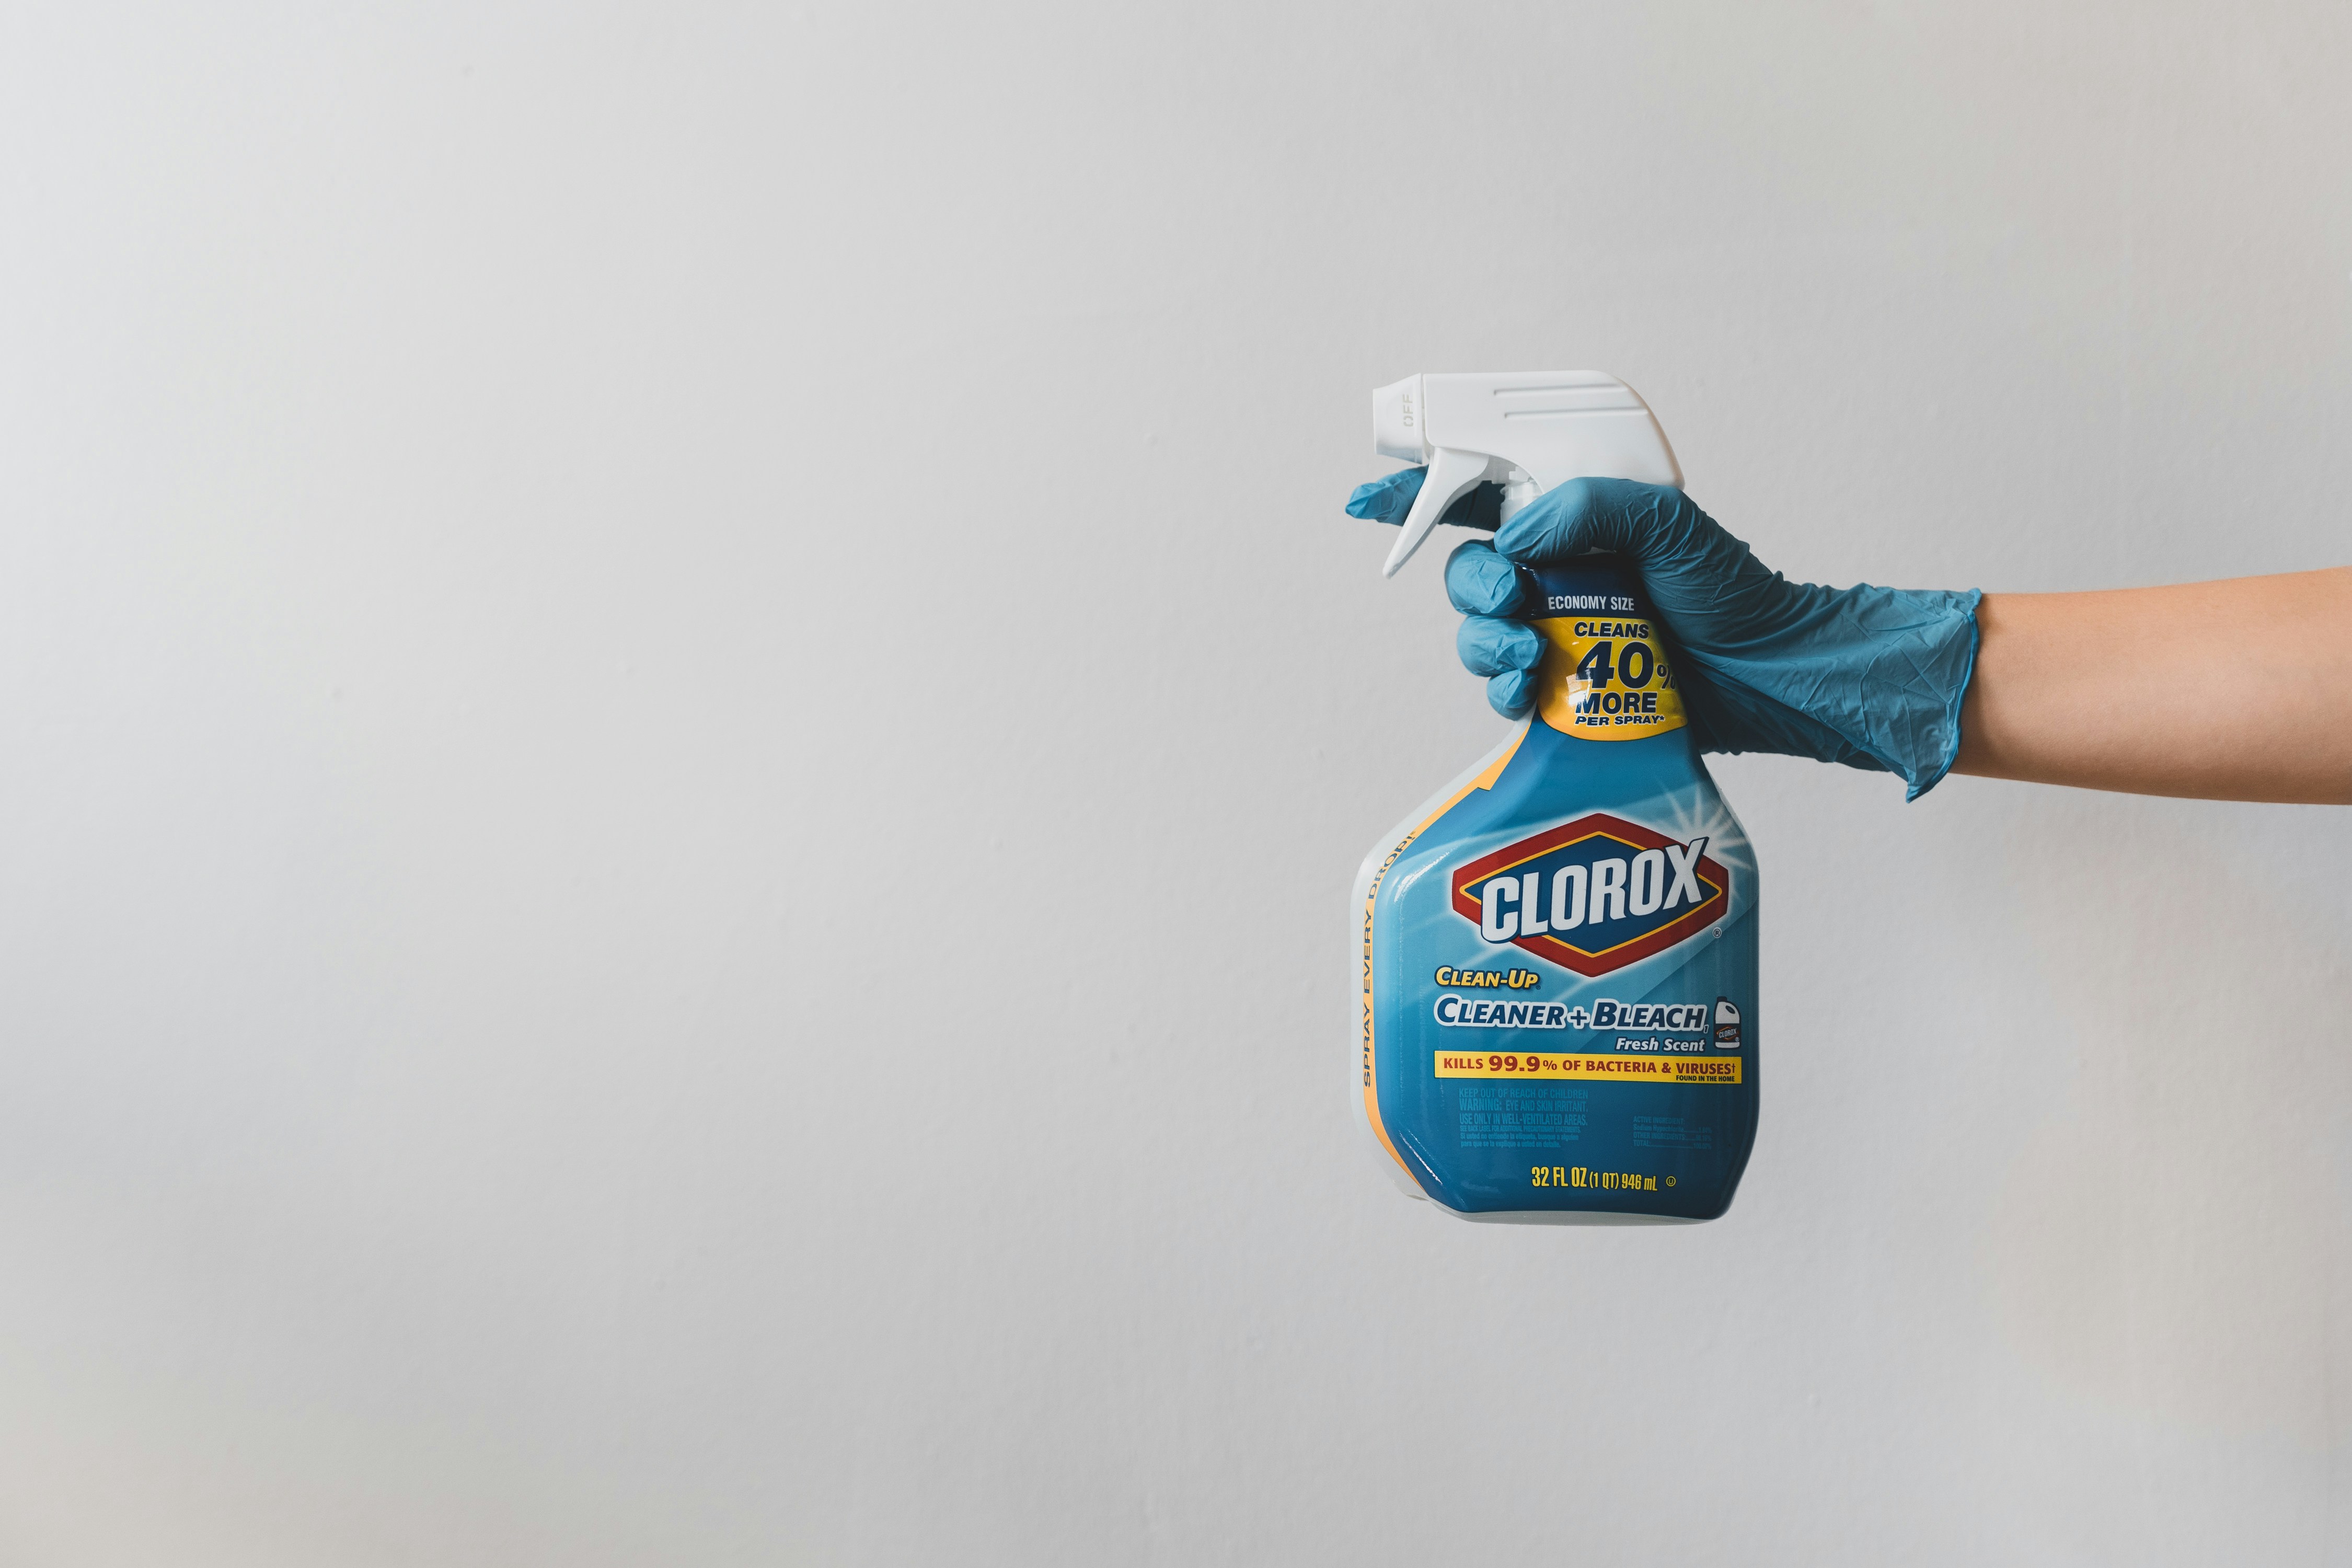
When preparing to clean your shower, tub, and toilet effectively, gathering the right cleaning supplies is paramount. First and foremost, selecting an appropriate disinfectant is crucial. Look for products that are approved by health authorities and specifically designed for bathroom environments. These disinfectants should be capable of killing germs and sanitizing surfaces. Common active ingredients to consider include bleach, hydrogen peroxide, and quaternary ammonium compounds, each known for their efficacy against bacteria and viruses.
In addition to disinfectants, you will need several scrubbing tools. A non-abrasive sponge is ideal for general cleaning, as it can effectively remove dirt without scratching surfaces. For tougher stains, consider using a stiff-bristled brush specifically designed for bathrooms, as well as microfiber cloths and rags that can return your surfaces to a streak-free shine. A dedicated toilet brush is also essential for maintaining hygiene in your toilet bowl.
Personal protective equipment, like rubber gloves, should not be overlooked. Wearing gloves not only protects your skin from harsh chemicals but also enhances grip while cleaning to ensure you can effectively tackle stains without injury. A mask may also be a wise choice if you are using potent cleaning agents. To assist with the organization of your supplies, consider a caddy or bucket for easy transport and accessibility while cleaning.
Additionally, having a squeegee can greatly help in preventing water spots in your shower and tub. Once your surfaces are clean, using a squeegee regularly will help maintain their shine and cleanliness. Having all these cleaning supplies at hand will facilitate a more efficient cleaning session and yield better results in maintaining a fresh and hygienic bathroom environment.
Preparing the Bathroom for Cleaning
Before embarking on the cleaning process of your shower, tub, and toilet with disinfectants, it is essential to prepare the bathroom adequately. This preparation ensures that the cleaning is effective and that your personal safety is prioritized during the use of powerful cleaning agents.
Start by removing all personal items from the bathroom. This includes toiletries, towels, bath mats, and any decorative items. Clearing these surfaces minimizes the risk of contaminating your possessions with disinfectants and allows for a thorough cleaning of the areas often obscured by these items. Consider placing these items in a separate room until the cleaning process is complete.
Next, ventilate the bathroom to ensure that air circulates freely. Disinfectants can emit strong fumes that may cause discomfort or even respiratory issues if inhaled in a poorly ventilated area. Open windows, turn on exhaust fans, and if possible, use a portable fan to enhance airflow. Adequate ventilation not only aids in the quicker dissipation of chemical odors but also helps the disinfectant to dry properly, enhancing its effectiveness.
Moreover, it is crucial to protect both your surfaces and your body during the cleaning process. Begin by laying down a protective covering, such as a towel or plastic sheet, on the floor to catch any drips or spills from cleaning solutions. Additionally, wear appropriate protective gear, including gloves and, if desired, a mask to avoid any adverse reactions to the fumes. Eye protection can also be considered, especially when using strong disinfectants that may splatter.
By following these preparatory steps, you create a safe and efficient environment for cleaning your shower, tub, and toilet. Taking the time to prepare properly will facilitate an effective cleaning session, ensuring every surface is disinfected and hygienic.
Cleaning the Shower
Cleaning your shower is essential for maintaining a hygienic and visually appealing bathroom. The process involves several steps and varies according to the surfaces present within your shower, such as tiles, glass, and fixtures. Proper cleaning not only enhances the appearance but also helps in thwarting the growth of mold and mildew, which are common issues in damp environments.
Begin by gathering the necessary supplies: a suitable disinfectant, a sponge or scrub brush, a squeegee, and a spray bottle for ease of application. It’s advisable to select a disinfectant that effectively tackles soap scum, hard water stains, and bacterial growth. Many industry-grade products are designed explicitly for bathroom surfaces and can alleviate persistent stains while delivering a fresh scent.
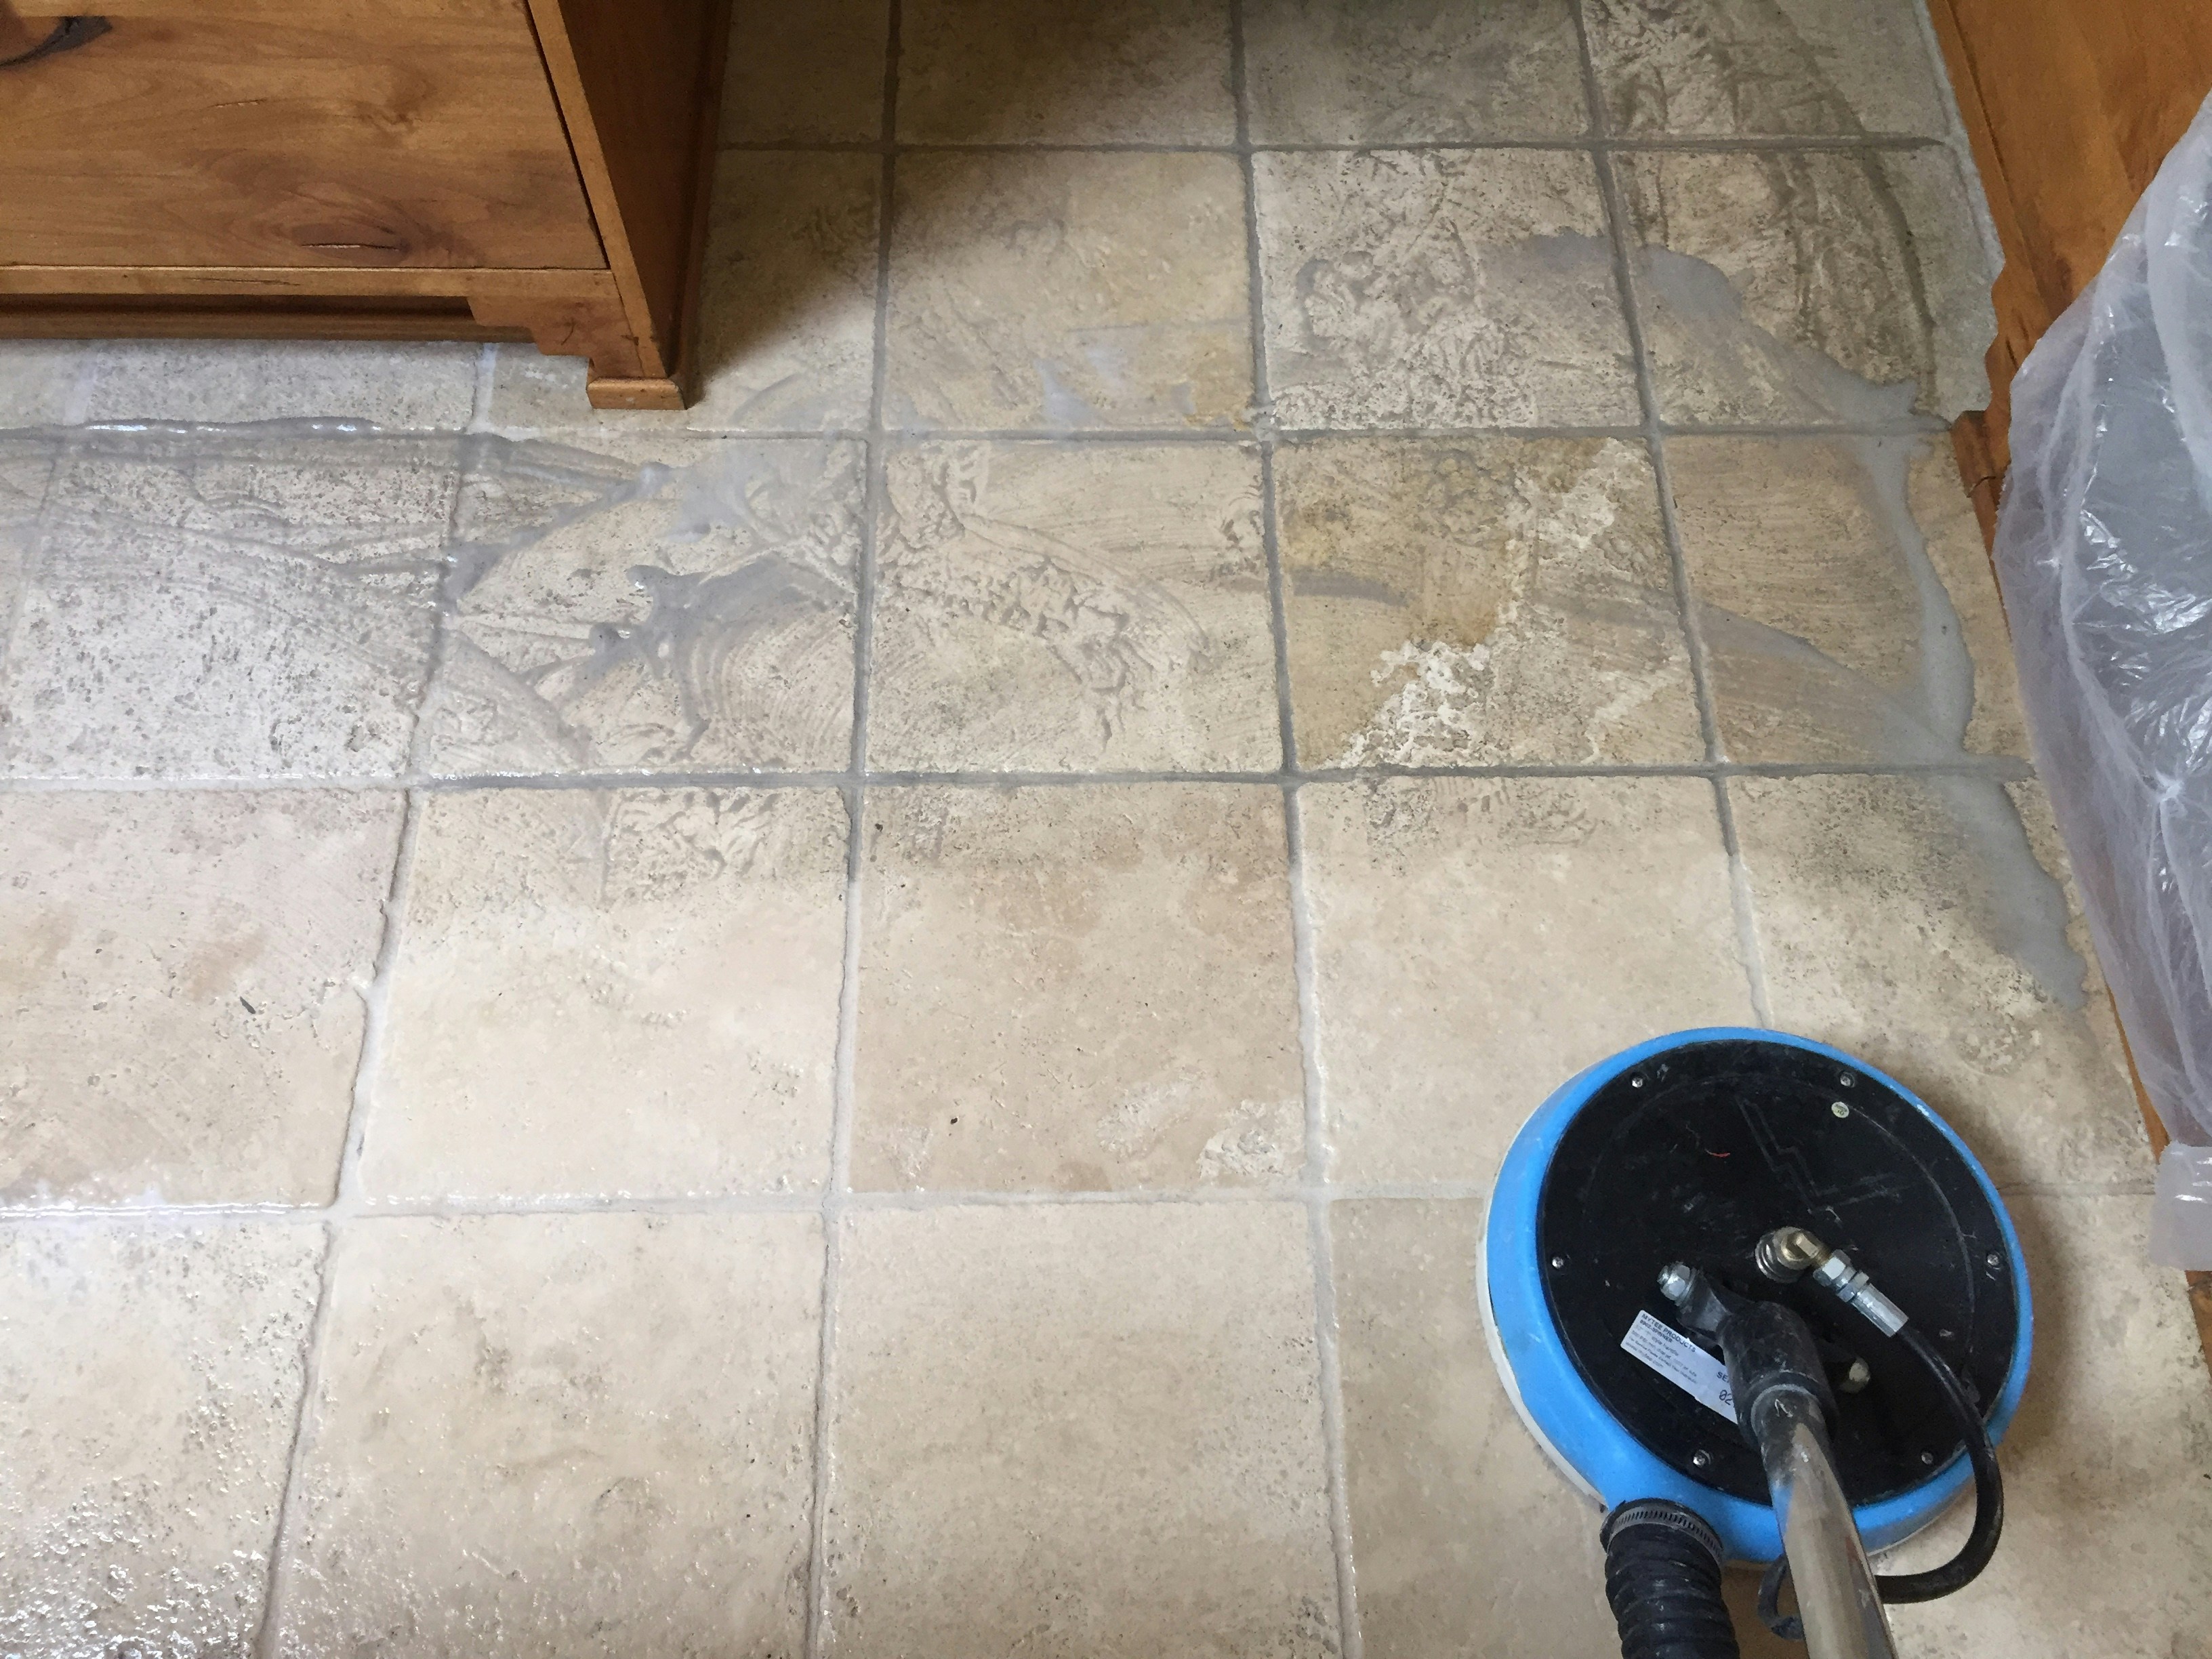
For tiled surfaces, spray the disinfectant generously and allow it to sit for several minutes. This facilitates the breakdown of grime and prevents unnecessary scrubbing. Next, using a sponge or soft brush, scrub between the grout lines and the tiles, ensuring to target any areas where mold and mildew may accumulate. Rinse thoroughly with warm water to remove any remaining residue, as leftover cleaning agents can lead to streaking.
When it comes to glass doors or surfaces, a vinegar-based solution can be particularly effective for removing mineral deposits and soap builds. Spray the solution, let it sit briefly, then wipe it down with a microfiber cloth or squeegee to achieve a streak-free finish. Additionally, attention should be paid to fixtures, which can often harbor buildup. A gentle scrub followed by rinsing will ensure they remain shiny and functional.
In summary, a systematic approach using the right disinfectants on various surfaces will not only aid in keeping your shower clean but will also help in preventing the growth of unwanted mold and mildew, resulting in a more pleasant bathing experience.
Cleaning the Bathtub
Cleaning your bathtub is essential not only for aesthetic purposes but also for maintaining hygiene. Various materials, such as acrylic, porcelain, and fiberglass, require different cleaning methods to ensure they are not damaged and achieve the best results. Before starting the cleaning process, it is advisable to gather your supplies, including an appropriate disinfectant, sponges, soft brushes, and microfiber cloths.
When dealing with acrylic bathtubs, use a gentle cleaner specifically formulated for this material to avoid scratches. Begin by rinsing the surface with warm water, allowing any soap residue to soften. Apply the cleaning solution sparingly to a soft sponge and work in a circular motion, focusing on areas with stains or soap scum. Rinse thoroughly with warm water, ensuring that no cleaner residue remains, as it may cause a dull finish. For tougher stains, consider a combination of baking soda and vinegar, which can lift grime without damaging the surface.
For porcelain bathtubs, a slightly more vigorous approach can be taken, but caution is still necessary. A non-abrasive cleaner mixed with warm water is effective for routine cleaning. Use a soft-bristled brush to scrub the surface, paying close attention to corners and edges where mildew may accumulate. After scrubbing, thoroughly rinse the bathtub to remove any cleaner. If discoloration persists, a specialized porcelain cleaner may be employed, following the manufacturer’s instructions.
Fiberglass bathtubs, similar to acrylic models, are sensitive to abrasive products. Stick to mild detergents and soft scrubbing tools. Start by wetting the surface before applying your cleaning solution. For persistent stains, you can create a paste from baking soda and water, gently scrubbing the affected areas before rinsing them down. By following these tailored cleaning practices for each material, you can ensure your bathtub remains in excellent condition while achieving a sparkling, clean finish.
Cleaning the Toilet
Cleaning the toilet may seem like an unpleasant task, but it is essential for maintaining a hygienic bathroom environment. A comprehensive approach to toilet cleaning involves treating both the interior bowl and the exterior surfaces with effective disinfectants. To begin, gather all necessary supplies, including a toilet brush, a disinfectant cleaner specifically formulated for toilets, rubber gloves, and a microfiber cloth.
Start the cleaning process by applying the disinfectant inside the toilet bowl. Generously coat the inner surfaces, including under the rim, to ensure all areas come into contact with the cleaner. Allow the disinfectant to sit for at least 10 minutes; this dwell time is critical for effective bacterial elimination. During this waiting period, focus on cleaning the exterior surfaces. Use a disinfectant spray or wipes to clean the tank, handle, and base of the toilet. Pay particular attention to high-touch areas, as these can harbor harmful germs.
Once the disinfectant has been allowed to sit, scrub the bowl thoroughly with a toilet brush. Make sure to clean all surfaces, ensuring no areas are overlooked. After scrubbing, flush the toilet to rinse away the cleaner and any debris. If you identify persistent stains, consider using a pumice stone for gentle scrubbing, or a specialized toilet bowl cleaner designed to tackle tough stains.
To maintain a fresh and bacteria-free toilet between deep cleanings, incorporate regular maintenance practices. Regularly use a toilet bowl cleaner and brush along with a quick exterior wipe-down with disinfectant wipes after each cleaning. This proactive approach will help reduce the buildup of germs and keep your toilet looking spotless. Following these detailed steps ensures that your toilet remains clean, sanitized, and ready for use, contributing to a healthier bathroom environment.
Post-Cleaning Care and Maintenance
Maintaining cleanliness in your bathroom is essential for both hygiene and aesthetics. Regular cleaning and maintenance help prevent the buildup of grime and bacteria, which can lead to unpleasant odors and health issues. It is recommended to clean your shower, tub, and toilet at least once a week, but this frequency can vary based on usage and household size. For larger families or high-traffic bathrooms, a mid-week touch-up might be necessary to keep things in optimal condition.
In addition to weekly deep cleaning, incorporating a few simple daily routines can significantly enhance your cleaning efforts. A quick five-minute wipe-down of surfaces after each shower can prevent soap scum and mildew from forming, especially in the shower area. Use a squeegee on glass surfaces to minimize water spots and help dry the area quickly. For the toilet, a brief daily inspection can reduce the likelihood of stains and buildup. Swiping a disinfectant wipe around the rim and seat daily can keep your toilet in pristine condition.
Moreover, keeping cleaning supplies readily accessible can motivate you to maintain these habits. Store a disinfectant spray, cloths, and a toilet brush in the bathroom for easy access. When cleaning products are visible, you are more likely to use them regularly, contributing to a cleaner environment. Additionally, consider using products that contain antibacterial agents to ensure thorough sanitation during each cleaning session. Regularly evaluate the effectiveness of your chosen cleaning techniques and modify them as needed to ensure your bathroom remains a clean and safe space for you and your family.
Common Mistakes to Avoid
Cleaning the bathroom is an essential household task, yet many individuals inadvertently make mistakes that hinder their efforts and compromise hygiene. Understanding these common pitfalls is crucial for achieving effective results when cleaning your shower, tub, and toilet with disinfectant.
One prevalent mistake is using the wrong cleaning products. Many people assume that all cleaning solutions are created equal, but each bathroom surface requires specific products to avoid damage. For instance, abrasive cleaners can scratch porcelain finishes, while acidic solutions may erode grout and caulk. It is imperative to read labels carefully and select appropriate cleaners formulated for the materials in your bathroom.
Another common oversight is neglecting hard-to-reach areas. Homeowners might focus primarily on visible surfaces, overlooking corners, fixtures, and behind the toilet. These areas can harbor germs and mildew if not cleaned regularly. A thorough cleaning routine should prioritize these often-forgotten spots to ensure comprehensive sanitation.
Failure to follow safety precautions is another critical mistake. Many disinfectants contain harsh chemicals that can be harmful if inhaled or if they come into contact with skin. It is advisable to wear protective gear such as gloves and masks, and to work in a well-ventilated area when using strong cleaning agents. Additionally, switching between different chemicals without proper rinsing can lead to dangerous reactions, so always ensure any product residue is thoroughly washed away before applying another.
Lastly, taking shortcuts can lead to unsatisfactory outcomes. Rushing through the cleaning process often means inadequate application of disinfectants or insufficient dwell time, which is necessary for killing germs effectively. Following manufacturer instructions and allowing products to sit as recommended can significantly improve cleaning efficacy.
Eco-Friendly Alternatives to Traditional Disinfectants
As awareness about environmental sustainability grows, many individuals are seeking eco-friendly alternatives to traditional disinfectants for cleaning their showers, tubs, and toilets. These alternatives not only reduce the chemical footprint in our homes but also promote a healthier living environment. By utilizing natural ingredients, homeowners can achieve effective cleaning results without the potential harm of harsh chemicals.
One popular homemade solution involves using a mixture of vinegar and baking soda. Vinegar, known for its acidic properties, can effectively break down mineral deposits and soap scum while killing certain bacteria. When combined with baking soda, it creates a fizzy reaction that can further enhance its cleaning power. Simply sprinkle baking soda in the desired area, spray with vinegar, allow it to sit for a few minutes, and then scrub or rinse off. This green cleaning option is not only effective but also economical.
Another excellent alternative is the use of essential oils. Tea tree oil, lavender oil, and lemon oil possess potent antibacterial properties and can be added to homemade disinfectant mixtures. For example, combining water, vinegar, and a few drops of tea tree oil creates a powerful yet fragrant cleaner that helps disinfect surfaces while leaving behind a pleasant aroma. Additionally, these natural oils have the added benefit of providing a calming atmosphere while cleaning.
Hydrogen peroxide is also considered an eco-friendly disinfectant. It is a natural substance known for its antimicrobial properties and can be safely used on various surfaces. Diluted hydrogen peroxide can be effective in killing germs and sanitizing bathrooms. It is crucial to store it in a dark bottle to preserve its effectiveness and avoid exposure to sunlight.
Utilizing these eco-friendly alternatives not only supports environmental conservation but also ensures a healthier space for you and your family. Embracing natural cleaning options can transform your cleaning routine while promoting sustainability in your home.
Conclusion and Final Tips
Maintaining a clean and sanitized bathroom is essential for both hygiene and overall health. Throughout this guide, we have explored various methods for effectively cleaning your shower, tub, and toilet using disinfectants. The importance of using the right cleaning products cannot be overstated, as they not only aid in removing dirt and grime but also eliminate harmful bacteria that can thrive in damp environments. Adopting a regular cleaning routine can significantly enhance the longevity of your bathroom fixtures while ensuring a safe space for all household members.
To achieve optimal results, it is essential to incorporate specific practices into your cleaning regimen. First, establish a weekly cleaning schedule that includes scrubbing your shower and tub and disinfecting your toilet. This consistency will help prevent the build-up of soap scum, mold, and mildew, making subsequent cleaning sessions easier and more efficient. Additionally, consider utilizing natural disinfectants, such as vinegar and baking soda, as alternatives to chemical-based cleaners when possible, ensuring a more environmentally friendly approach.
Furthermore, remember to pay attention to often-overlooked bathroom items, such as shower curtains, bath mats, and toothbrush holders. These items can harbor bacteria and should be cleaned regularly as part of your bathroom maintenance routine. Lastly, ensure proper ventilation during and after cleaning to help dry surfaces quickly and minimize moisture accumulation, thus reducing the likelihood of mold and mildew growth.
In summary, by adhering to regular cleaning schedules and utilizing effective disinfecting solutions, you can maintain a spotless and sanitary bathroom environment. The health benefits of a clean bathroom are profound, contributing to your overall well-being. Embrace these final tips and make your bathroom cleaning routine efficient and effective, assuring a healthy space for everyone in your home.